In this blog series, we’re going to explore setting up your first Angular project. By the end, our goal is to have a fully functional, tested Angular app that has continuous integration (CI). Let’s get started.
Installing dependencies
For this tutorial, we will need to have node, npm, and Angular installed. You can find how to install node and npm locally here and Angular here. Once you have installed Angular globally on your machine you are ready to begin. At the time of writing this, the latest versions of Angular and Node are 15 and 18 respectively. That is what we will be using to setup this project.
Setting up the Angular application
Angular has a helpful command line interface (CLI) built into it that will help us throughout this process. To start off, we will use it to create our project hello-world. In your terminal, enter the following:
[Documents]$ ng new hello-worldThis will prompt you with a few questions. For now select ‘No’ for Angular routing and SCSS for your style sheet format.
? Would you like to add Angular routing? No
? Which stylesheet format would you like to use? SCSS
Great, now we have a folder named hello-world/. This contains our newly created Angular project and comes along with a lot of useful things baked in! Let’s check that everything worked by moving into the folder and starting the server.
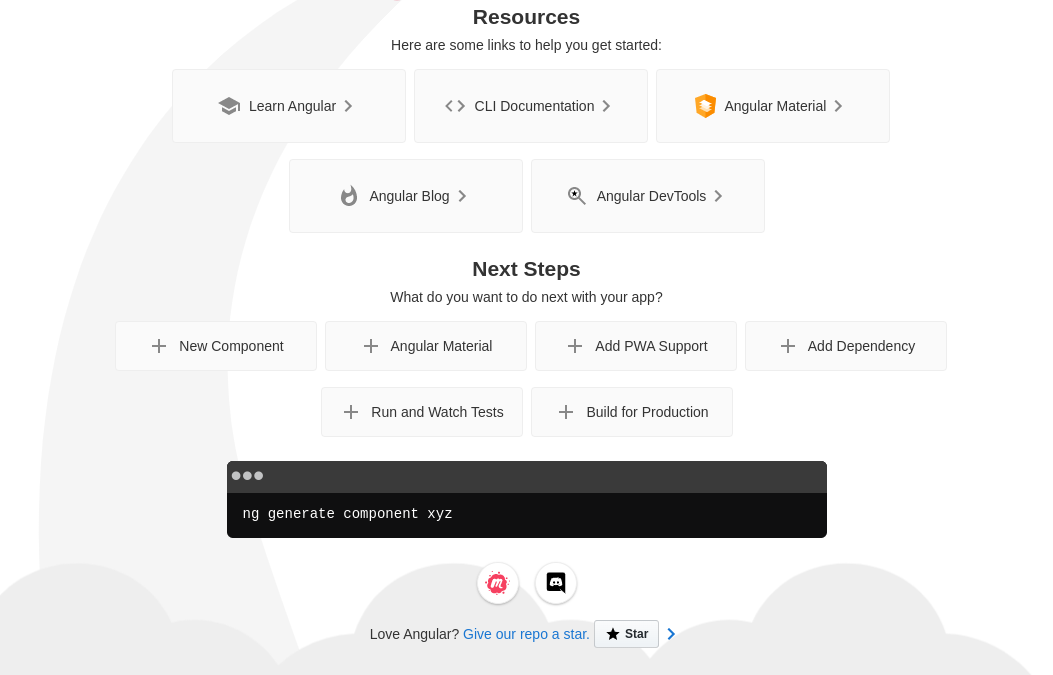
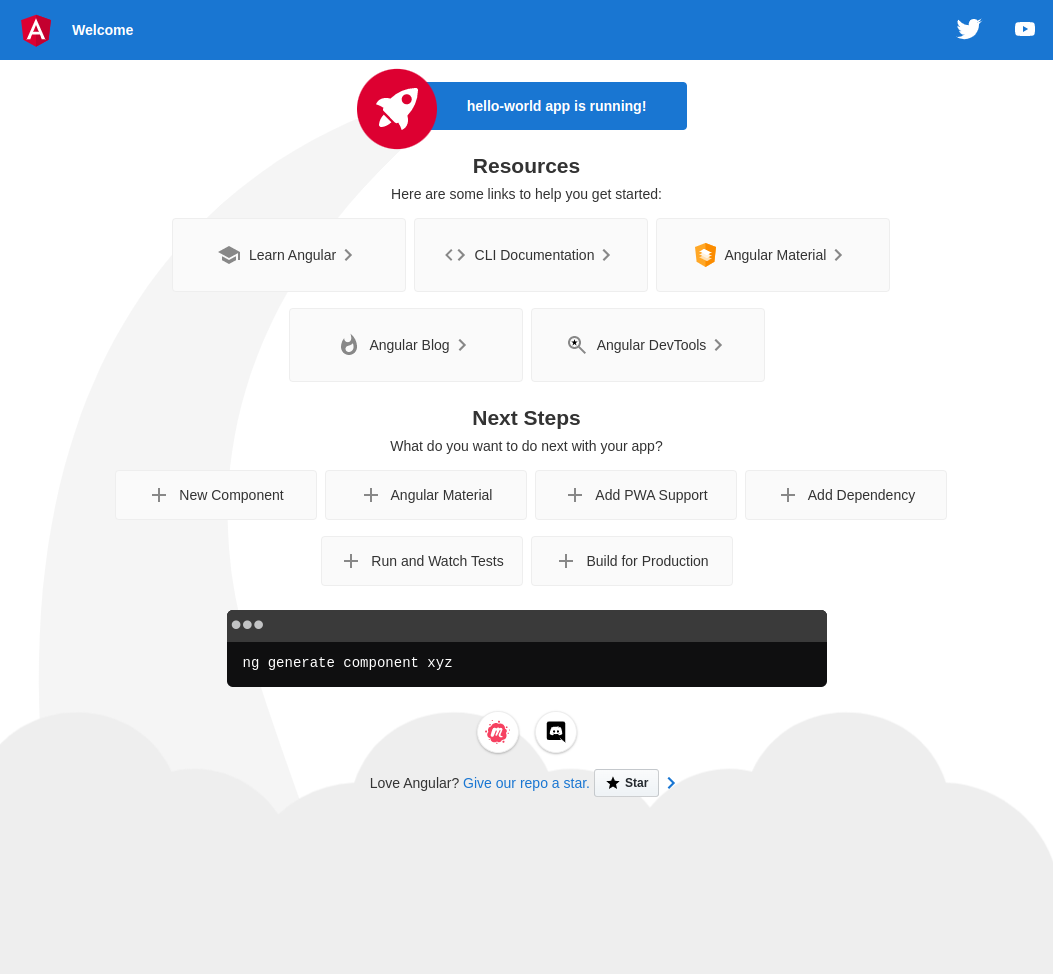
[hello-world]$ ng serveIf you port 4200 is filled, you can use the flag --port= to change what port Angular will listen on. When we dockerize the application we will allow for easy changing of the exposed port through environment variables. If it ran correctly, you should see a screen that looks like this when you navigate to localhost:4200.
Docker
The next piece of setup is to Dockerize the application. Though you can run the application from your terminal, there’s a few reasons to do this.
Motivation
First, it keeps the environment the same between developers. This one is less important with Angular than with other frameworks but it is still important. Different versions of node can effect the runtime and cause different errors. By dockerizing, you know that everybody will have the same development experience, and when it comes time to build for production the build environment will be the same as development.
Second, it allows for an easier setup of a CI / CD server. It is very easy to find a CI / CD server that allows for Docker. You won’t have to scavenge the internet to find the exact build server that fits your needs. As long as it runs docker, you can change node versions at will. It also allows you to easily setup your own build servers if it comes time for that.
Lastly, it allows for easier remote development. Remote development becomes much easier with tools like docker. Not only does it simplify the environment setup, as pointed out in the first benefit, it allows for easy construction and destruction of the container. I’ve spent a lot of time in my career trying to find what process was running on a port and shutting it down manually. Now, when I remote in to my work computer it is far easier to interface with the Docker containers. Not only that, but tools like Visual Studio Code allow you to develop from inside the container making it so you don’t even have to have any environment setup on your remote workstation!
Setup
Now that we know the reasons behind it, let’s dockerize our application! First step is to create a Dockerfile. We’ll call this one Dockerfile.dev. To make running the dockerfile easier, we’ll also create a docker-compose.yml file.
[hello-world]$ touch Dockerfile.dev
[hello-world]$ touch docker-compose.yml
Now, let’s add a simple setup for our development environment
# ./Dockerfile.dev

FROM node:18
WORKDIR /usr/src/

COPY package*.json ./
RUN npm install

ENTRYPOINT npm run start
Here we are using node 18 as our base image and putting the code under /usr/src/. First, we copy in our package.json and package-lock.json files to install the node_modules. That will all happen during the build and be cached for faster development. When we start the container, the ENTRYPOINT command will be run and start the development server. Now let’s look at our docker-compose.yml.
# ./docker-compose.yml

services:
  client:
    restart: unless-stopped
    tty: true
    stdin_open: true
    environment:
      - NG_CLI_ANALYTICS=false
    build:
      context: .
      dockerfile: Dockerfile.dev
    ports:
      - ${PUBLIC_API_PORT:-4200}:4200
    volumes:
      - .:/usr/src/
Let’s go through this line by line. We are setting the version to 3.8 and the name to hello-world. This name will be helpful in organizing the Docker containers for the project once we add more Docker containers to the project.
Next, we are establishing a client service. We want to restart during development unless we tell it to stop and tty: true allows us to keep the terminal running (tty connects our terminal with the stdin and stdout stream). This works in conjunction with stdin_open. In the environment section, we want to tell google to not send analytics. Without this environment variable, the build will hang on the prompt.
We then add the build variables telling it that we want the build context in the current folder and specify which Dockerfile to use. Later on we will be adding more Dockerfile’s for ci, testing, and production so we need to specify which one to use.
In the ports section, we are specifying that we want to map external port 4200 to the the internal 4200. Inside the Docker container Angular will always be running on port 4200. This allows us to easily change the public api port using a .env file (setup below).
Lastly, we setup the volumes. This step allows us to sync our local files with the container files. This direct map will automatically sync the container and refresh the server on changes. You may notice that in the Dockerfile we didn’t copy any files except the package*.json and this is why.
Before we go further, let’s set up the optional environment file. You only need this if you are going to change the port you are running on, but you will most likely want to take this step. The .env file we setup will be hidden to git so we’ll want to create an example.env for documentation.
[hello-world]$ touch .env
[hello-world]$ touch example.env
The content in each of these will be the same for now. If you want to change the port it runs on, feel free to change the .env to whatever port you want.
// ./example.env and ./.env

PUBLIC_API_PORT=4200
We want to exclude .env from the repo so let’s also add that to the .gitignore
# ./.gitignore

# Environment
.env

# ...
Last step for adding Docker to the project is to modify the start script in package.json. The traditional ng serve won’t work here because we’re not sending requests from inside the Docker container. We’ll set the host to localhost. You may notice that we add a --disable-host-check. This is in case you are accessing the server from a different name than given in the --host flag. I find it useful to do this, but this flag is completely optional.
// ./package.json
{
  // ...
  "scripts": {
    "start": "ng serve --host=0.0.0.0 --port=4200 --disable-host-check"
    // ...
  }
  // ...
}
We are finally ready to start up the newly dockerized application!. Once you have Docker installed (here’s a guide to installation), go ahead and start the server.
[hello-world]$ docker compose upGo ahead and navigate to localhost:4200 again and verify that it works. Congratulations! You now have a dockerized Angular app. In the next post, we’ll explore how to setup up a basic CI pipeline for this project.